
E-Bike Motor and Controller Validation Bench
Introduction
A mid-drive e-bike motor can deliver around 80 Nm of torque at the crank, yet the rider only feels it through the controller’s assist logic. If that logic is off, the bike surges, lags, or drains the battery early. So you cannot judge an e-bike drive by the motor alone. You have to test the motor and controller together.
This guide shows you how to validate an e-bike motor and controller on a bench. You will see what to measure, how to mount hub and mid-drive units, how to fake a rider’s load, and which numbers tell you the drive is ready.
What to Validate on an E-Bike Drive
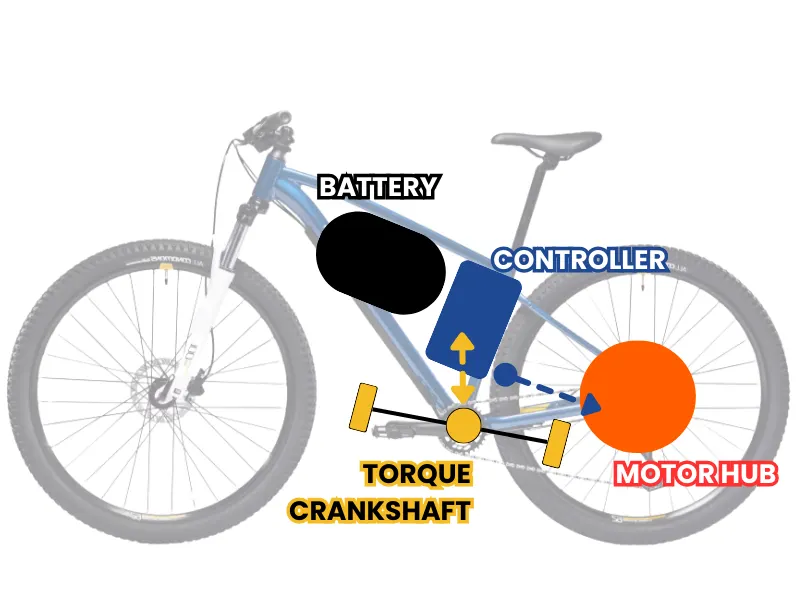
An e-bike drive is a system: a battery, a controller, a motor, and a torque or cadence sensor that tells the controller how hard you pedal. The bench has to exercise all of it, because the rider experience comes from how these parts work together.
Two motor types cover most bikes. A hub motor sits in the wheel and drives it directly, so it is simple and quiet but harder to gear. A mid-drive motor sits at the crank and uses the bike’s gears, so it climbs better and keeps torque high at low speed. Each needs a slightly different bench fixture, but the metrics are the same.
What you actually validate falls into a few groups:
| What to validate | Why it matters |
|---|---|
| Torque at the wheel or crank | The pull the rider feels, and the legal assist limit |
| Cadence and speed | Where assist starts and where it cuts off |
| Assist profile | How smoothly power follows pedal effort |
| Regen braking | Energy recovered, and brake feel |
| Efficiency | Range per charge under real load |
| Thermal behavior | Heat on long climbs or repeated cycles |
If you are building a bike from parts rather than testing a finished one, our DIY e-bike guide walks through the wiring and the sensor choices first.
Takeaway: test the motor and controller as one system, not as separate parts.
Setting Up the Bench
The bench couples the e-bike motor to a controllable load, then measures torque and speed while the controller runs its normal assist logic. The mounting changes with the motor type, but the goal is the same: a rigid, repeatable setup that does not move under load.
Mounting Hub and Mid-Drive Motors
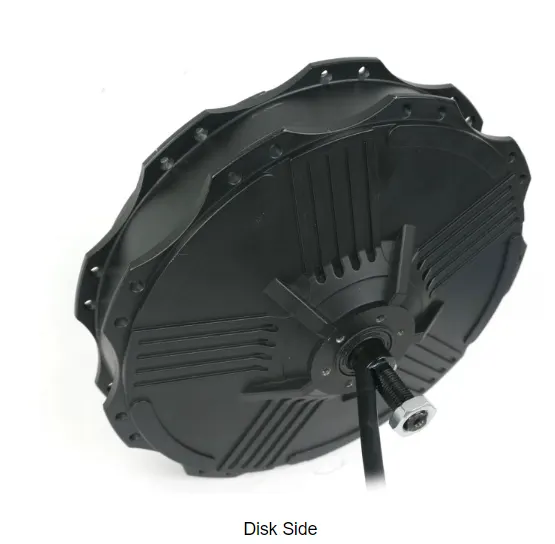
A hub motor mounts through its axle, the same way it sits in a wheel dropout. You clamp the axle to the bench frame and couple the load to the rim or to a shaft on the disc side. Keep the axle aligned with the load, because a small misalignment adds false torque and noise to your readings.
A mid-drive motor drives the crank, so you couple the bench load to the chainring or output shaft instead of a wheel. Because the gear ratio changes the torque the load sees, fix the gear or record which gear you test in. A universal bracket and a flexible coupling let you swap between hub and mid-drive units without rebuilding the bench.
Simulating Rider Load and Cadence
To get useful numbers you have to load the motor the way a road does. The bench applies that load through a dynamometer, which is a second motor or a brake that resists the drive in a controlled way. You set a load curve that climbs with speed, so the motor sees a realistic profile from a flat road to a steep hill.
For a mid-drive, you also drive the cadence input, the signal that tells the controller how fast the rider pedals. Feed a steady cadence into the torque or cadence sensor, then sweep it to see how assist responds. Picking the right load device is its own decision: a brake gives fixed load points, while a second motor can also back-drive the unit for regen tests.
Takeaway: a good fixture stays rigid and aligned, so the only thing your sensors read is the motor.
Measuring Torque, Speed and Assist
With the motor mounted and loaded, the bench records the numbers that decide if the drive is good. Torque and speed are the core pair. The assist curve is the e-bike specific test that a generic motor bench skips.
Torque Sensor and Cadence Input
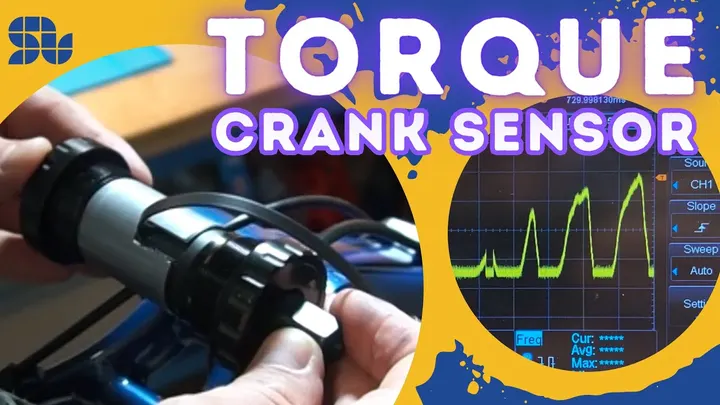
A torque sensor sits between the motor and the load and reads the real torque, not an estimate from current. Match its range to your motor: a crank that peaks near 80 Nm needs a sensor rated above that, with good accuracy at the low end too, because gentle assist happens at low torque. Pair the torque reading with a speed sensor, an encoder or hall input, so every torque point has a matching RPM.
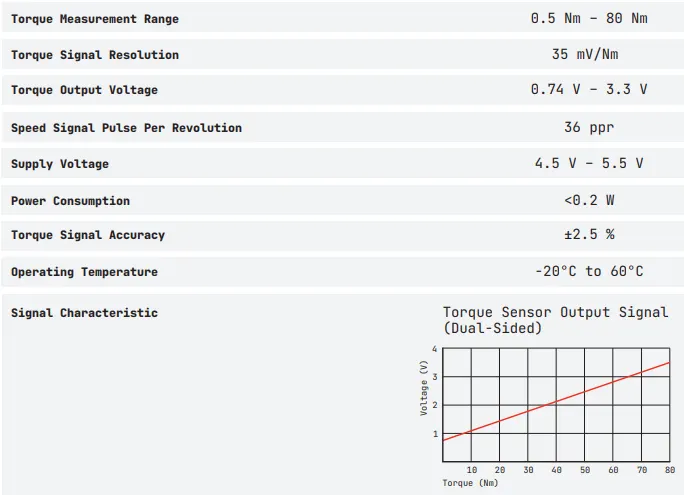
On the input side, you inject a cadence or pedal-torque signal that mimics the rider. That lets the bench drive the controller through its full assist logic without a person on the pedals.
Assist Curve Validation
The assist curve maps rider effort to motor output. It is what makes one e-bike feel natural and another feel jumpy. To validate it, you sweep the pedal-torque or cadence input across its range and record the motor torque the controller produces at each step.
A good curve is smooth and predictable. Watch for three failures: a dead zone where light pedaling gives no help, a surge where assist jumps suddenly, and a wrong cutoff where power keeps flowing past the legal speed limit. Run the sweep at several speeds, because many controllers taper assist as speed rises.
Takeaway: the assist curve is the e-bike specific test, and a bench is the only repeatable way to map it.
Regeneration and Braking Tests
Many e-bike controllers recover energy during braking, so the bench should measure it. To test regeneration, the bench load back-drives the motor, which forces current back toward the battery while you record the recovered power and the braking torque the rider would feel.
This needs a load that can both absorb and drive, often called four-quadrant operation. You measure two things: how much energy comes back, and how smooth the braking torque is. A controller that regens hard but grabs unevenly gives a poor brake feel, even if the energy numbers look good. A SOLO controller handles the regen limit and the braking ramp together, so you can tune recovery without losing a controlled stop.
Takeaway: test regen for both energy recovered and brake smoothness, not just one.
Range and Efficiency Considerations
Range is the spec riders care about most, and it comes down to efficiency under real load. On the bench you measure efficiency by comparing electrical input power to mechanical output power across the speed and torque range the bike actually uses.
You do not need a full efficiency map to spot trouble. A few load points at cruising speed and on a simulated climb already show where the drive wastes energy. A full efficiency map, with a grid of operating points and a heat map, is a deeper method on its own. For an e-bike, the practical question is simple: at the speeds people ride, how many watt-hours per kilometer does this drive use.
Takeaway: a handful of load points at real riding speeds predicts range better than a single peak number.
Thermal and Endurance Notes
A hub motor on a long climb has nowhere to dump its heat, so thermal behavior decides whether a drive holds its rated torque or fades. On the bench you watch winding and case temperature while the motor runs a steady high load, and you stop the test if it crosses its limit.
Endurance is the next layer: the same load repeated for hours or thousands of cycles, to find wear and slow heat buildup that a short test misses. Running these long thermal and endurance cycles is a method on its own, with its own test plan, sensors, and safe cutoffs. For e-bike validation, the short version is: log temperature on every run, and treat a steady climb as the worst case.
Takeaway: log temperature on every test and let an over-temperature cutoff protect the motor.
How SOLO Validates E-Bike Drives
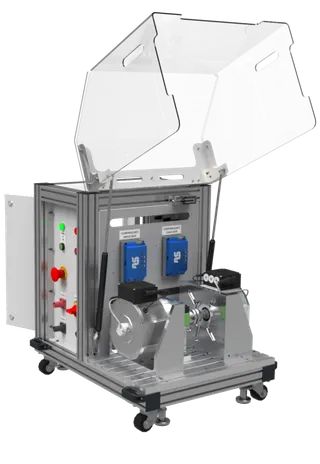
At SOLO we build benches around the same controllers we make, and we customize them to your drive at any level, from the load and torque sensor to the cadence input and the report. That matters for e-bikes, because hub and mid-drive units, assist profiles, and regen behavior vary a lot between bikes, and a fixed bench struggles to follow. Our controllers run torque, speed, and regen on DC, BLDC, and PMSM e-bike motors, sensored or sensorless, so the bench can drive the motor and read it back on the same platform. The aim is a bench that fits your motor and your assist logic, not one you design around. You can see the current SOLO motor test bench and tell us your specs.
Conclusion
Validating an e-bike drive means testing the motor and controller as one system. Mount the hub or mid-drive motor on a rigid fixture, load it with a dynamometer, and feed a realistic cadence or pedal-torque signal. Then measure the numbers that matter: torque and speed, the assist curve, regen braking, efficiency at real riding speeds, and temperature under a steady climb. The assist curve and the regen feel are the e-bike specific tests a generic motor bench tends to skip. If you want a bench that follows your motor and your assist logic, the SOLO motor test bench page is a good next step, and our team can review your setup.
FAQ
How do I test an e-bike motor and controller together?
Mount the motor on a bench, couple it to a controllable load, and let the controller run its normal assist logic. Feed a cadence or pedal-torque signal to stand in for the rider, then record torque, speed, and current as you vary the load. Testing them together is the only way to see the real assist behavior, because the controller shapes what the rider feels.
Can I validate the assist (pedal-assist) curve on a bench?
Yes. Sweep the pedal-torque or cadence input across its range and record the motor torque the controller produces at each step. That gives you the assist curve and shows dead zones, surges, or a wrong speed cutoff. Repeat the sweep at several speeds, since many controllers taper assist as speed rises.
How do I simulate rider load?
Use a dynamometer, a second motor or a brake, to resist the drive with a load curve that climbs with speed. Set the curve to match a flat road, then a hill, so the motor sees a realistic profile. For a mid-drive, fix or record the gear, because the ratio changes the torque the load sees.
Does the bench measure regen braking?
Yes, if the load can back-drive the motor. The bench forces the motor to act as a generator during braking, then records the recovered energy and the braking torque. You check both the energy returned and how smooth the braking feels, since a controller can regen well yet still brake unevenly.
Tags:E-BikeTest BenchValidation
Products in this article
Related articles

Efficiency Mapping a Motor: Method and What It Reveals
How to build a motor efficiency map on a test bench: the measurement method, the torque-speed grid, and what the map reveals about a motor.
Robotics Actuator Testing: Validating Motors for Robots
How to validate motors and actuators for robots on a test bench: torque density, backlash, repeatability and the metrics that matter for robotics.
Test Bench for Gearbox and Gearmotor Validation
How to validate a gearbox or gearmotor on a test bench: efficiency, backlash, ratio verification, and the load setup gearmotors need.
