
Motor Test Bench Specification Checklist (Free Template)
Introduction
Most failed bench projects do not fail on the hardware. They fail on a spec written too late or too loose, and the gap shows up only after the purchase. A bench rated for 10 Nm peak cannot validate a motor that needs 12 Nm continuous, and no firmware update fixes that.
A good test bench specification turns vague wishes into numbers a vendor can quote and build. This article gives you a structured checklist you can copy. Fill each field with your own values, send it to a vendor, and you remove most of the guesswork from the project.
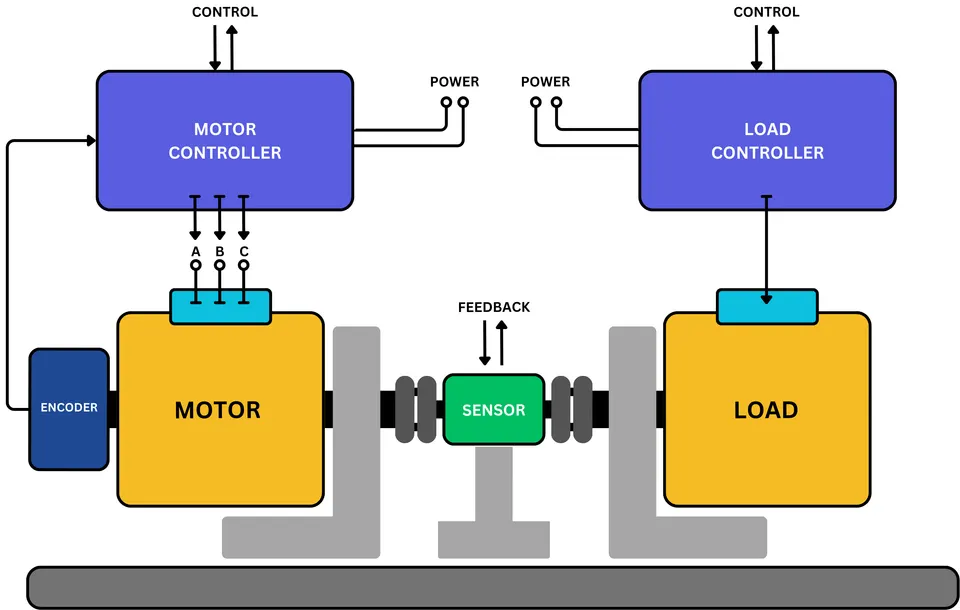
Takeaway: the spec, not the hardware, is where most bench projects are won or lost.
The Specification Checklist
Work through the six groups below in order. Each one has a small table: the parameter to define, what to specify, and an example value you can replace with your own. Start from the motor you test, because it sizes everything downstream.
Motor Under Test
Everything begins with the motor. Write down every motor you plan to test today, plus what is on your roadmap for the next two years. Size the bench to the largest of them, not the average.
| Parameter | What to specify | Example |
|---|---|---|
| Motor type | DC, BLDC, PMSM, ACIM, or a mix | PMSM and BLDC |
| Rated power | Continuous power in W or kW | 2 kW |
| Peak / continuous torque | Both values in Nm | 6 Nm peak, 3 Nm continuous |
| Maximum speed | Top speed in RPM, with headroom | 4000 RPM |
| Bus voltage | Nominal and max DC voltage | 48 V nominal, 60 V max |
| Phase current | Continuous and peak current in A | 40 A cont, 90 A peak |
| Pole pairs / Kt | If known, to help loop setup | 4 pole pairs |
As a rule, add about 20% headroom on torque and speed over your largest motor. A frame that fits only today’s smallest motor will block your roadmap later.
Load and Dyno Requirements
The dynamometer, or dyno, is the load that the motor works against. Its type decides which tests you can run. An active dyno can both absorb and drive the motor, which you need for regeneration and four-quadrant work. A brake can only absorb.
| Parameter | What to specify | Example |
|---|---|---|
| Dyno type | Active (motor), passive (brake), or hysteresis | Active, four-quadrant |
| Absorbed power | Continuous power the load must take | 3 kW continuous |
| Load torque range | Min and max torque the dyno applies | 0.2 to 8 Nm |
| Four-quadrant | Yes if you need regen / back-drive | Yes |
| Coupling | Shaft size and coupling type | 8 mm shaft, flexible coupling |
If you are unsure which dyno fits, decide the tests first, then pick the load that covers them. A wrong dyno type is hard to fix after install.
Measurement and Accuracy
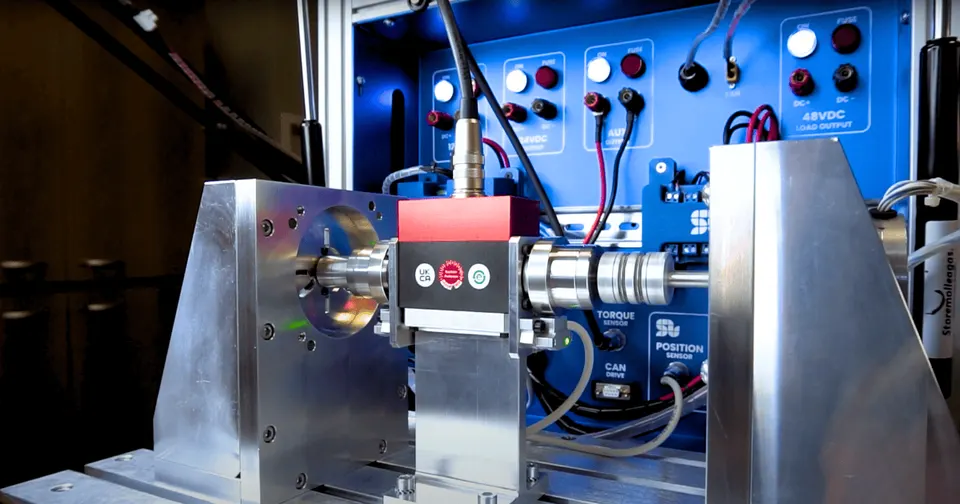
Your results are only as good as your sensors. Specify the range and accuracy of each one against your smallest signal, not just your largest. A torque sensor sized for 50 Nm measures a 0.5 Nm point poorly.
| Parameter | What to specify | Example |
|---|---|---|
| Torque sensor | Range and accuracy class | 0 to 10 Nm, ±0.1% FS |
| Speed / position | Encoder type and resolution | Incremental, 2500 PPR |
| Temperature | Number of channels and sensor type | 4 channels, PT100 |
| Current / voltage | Accuracy of the drive’s sensing | ±0.5% reading |
| Sample rate | Logging rate per channel | 1 kHz |
Check the torque accuracy at the lowest torque you care about. For why this matters, see our guide to the torquemeter in test benches.
Takeaway: specify accuracy at your smallest value, where cheap sensors fail.
Control, Protocols and Data
This is where many benches disappoint. You want automated sequences, live logging, and clean export, not just a live dial you have to watch. Define the interface the bench must speak so it fits your lab.
| Parameter | What to specify | Example |
|---|---|---|
| Control interface | USB, CANopen, EtherCAT, Modbus | CANopen + USB |
| Automation | Scripted test profiles, pass/fail limits | Yes, scriptable |
| Unattended runs | Overnight endurance without an operator | Yes, 12 h runs |
| Data logging | Channels logged and time-stamping | All channels, time-stamped |
| Export format | CSV, MATLAB, or your own tools | CSV and MATLAB |
Ask one concrete question of any vendor: can the software run an unattended endurance test overnight and log every channel. If not, you pay for it later in engineer hours.
Safety and Environment
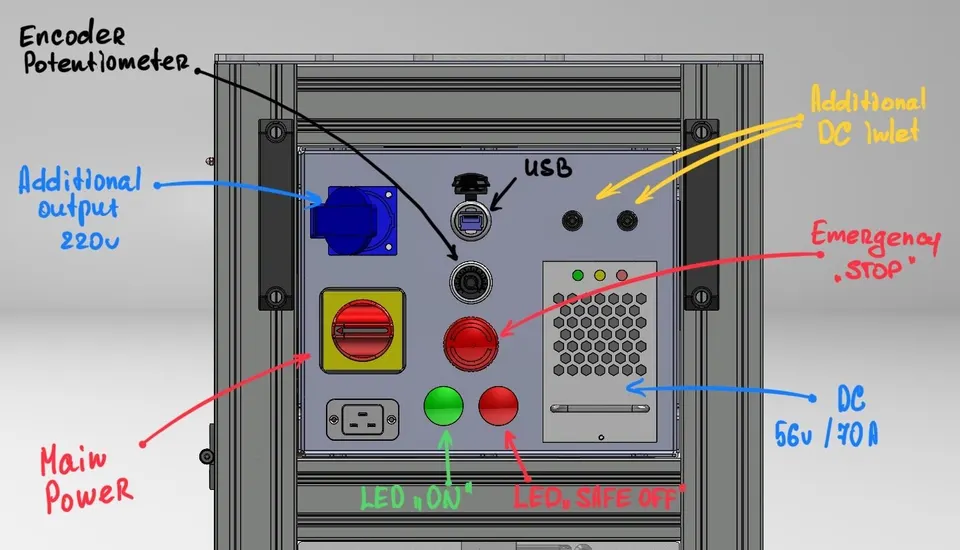
A spinning motor stores real energy, so safety is a requirement, not an option. Specify the fail-safe behavior you expect, and the room the bench has to live in.
| Parameter | What to specify | Example |
|---|---|---|
| Emergency stop | Hard e-stop that cuts power | Yes, hardware e-stop |
| Guarding | Covers around couplings and shafts | Full enclosure |
| Limits / cutoffs | Over-speed, over-temp, over-current trips | All three, auto-stop |
| Regen energy | How regenerated power is dumped | Brake resistor |
| Environment | Ambient temp, supply voltage, IP needs | 0 to 40 °C, 230 VAC |
A good bench fails safe. If a sensor drops out or a limit is crossed, the system stops the motor on its own. See how this works in emergency systems on a motor test bench.
Mechanical and Footprint
The last group covers the physical fit. It rarely decides the project, but a bench that does not fit your bench top or your power supply is a slow, expensive surprise.
| Parameter | What to specify | Example |
|---|---|---|
| Footprint | Max width, depth, height | 800 x 600 x 500 mm |
| Weight | Limit if floor or desk is rated | Under 40 kg |
| Mounting | Fixed cabinet or cart on wheels | Cart on wheels |
| Power supply | Voltage, phase, and current available | 230 VAC, single phase |
| Portability | Only if several teams share the bench | Shared, so portable |
Treat portability as a tie-breaker. It matters only when several teams share one bench or you demo away from the lab.
How to Use This Checklist with a Vendor
Fill in the example column with your own numbers, then send the whole table set to each vendor before you ask for a price. Three habits make this work better.
First, share peak and continuous values, not one number. A vendor sizes the frame on continuous and the dyno on peak, so a single figure hides risk. Second, mark which fields are hard requirements and which are nice to have. That lets a vendor offer a sensible build instead of guessing. Third, ask the vendor to quote against your spec, line by line. If a field cannot be met, you want to know before the purchase order, not after delivery.
Takeaway: a quote that answers your spec line by line is worth more than a lower price that ignores it.
Download the Template
The table set above is the full checklist. Copy it into your own document, or grab the formatted template to fill in with your team. Keep one copy per motor family. When a new motor lands on your roadmap, you update a few fields instead of starting the spec from scratch.
Pros, Cons & Trade-offs
A written spec costs time up front. That time is small next to the cost of a bench that almost fits.
| Approach | Pros | Cons | Reality |
|---|---|---|---|
| No written spec | Fast to start a conversation | Vendor guesses; misfit found after purchase | High risk, common cause of failed projects |
| Loose spec (one value each) | Quick to write | Hides peak vs continuous; under-sized dyno or sensors | Better than nothing, still risky |
| Full checklist (this template) | Quotes are comparable and accurate | Takes an hour to fill the first time | The safe path when budget is real |
No spec is perfect on the first pass. The common mistake is skipping the continuous ratings and the accuracy at low values, then discovering the gap during the first real test. Spend the hour up front.
How SOLO Helps You Turn the Spec into a Bench
At SOLO we read a spec like the one above and build the bench around it, rather than fitting your motors into a fixed envelope. We customize the dyno, the sensors, the protocols, and the report to your needs at any level. The benches support DC, BLDC, PMSM, and AC induction motors, with active or brake loading, torque and temperature sensing, and automated logging over CANopen or EtherCAT. If a field in your checklist sits outside a standard catalog bench, that is usually where a customizable build pays off. You can see the current SOLO motor test bench and send us your filled-in spec.
Conclusion
A motor test bench specification is just six groups of numbers: the motor under test, the load and dyno, the measurement and accuracy, the control and data, the safety and environment, and the mechanical fit. Fill each field with your own values, share peak and continuous figures, and check accuracy at your smallest signal. Then send the spec to a vendor and ask for a quote that answers it line by line. If you want a second opinion on your numbers, the SOLO test bench page is a good next step, and our team can review your checklist.
FAQ
What should a motor test bench specification include?
A complete spec covers six groups: the motor under test (type, power, torque, speed, voltage, current), the load and dyno requirements, the measurement sensors and their accuracy, the control interface and data export, the safety systems, and the mechanical footprint. Give peak and continuous values, not a single number, and size the bench to your largest planned motor with about 20% headroom.
What data should a test bench record?
At a minimum, a bench should log torque, speed, current, voltage, and temperature on every channel, with time stamps so you can replay a run later. Specify the sample rate per channel and the export format, such as CSV or MATLAB. For long tests, confirm the bench can run unattended overnight and log every channel on its own.
Tags:ChecklistSpecificationTest Bench
Products in this article
Related articles

Efficiency Mapping a Motor: Method and What It Reveals
How to build a motor efficiency map on a test bench: the measurement method, the torque-speed grid, and what the map reveals about a motor.
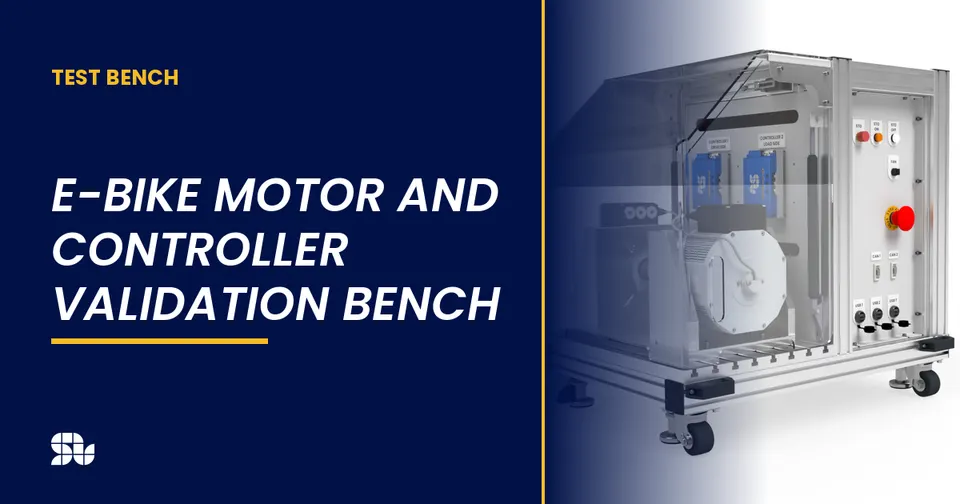
E-Bike Motor and Controller Validation Bench
How to validate an e-bike motor and controller on a bench: torque and cadence, assist profiles, regen and the metrics that matter for e-bikes.
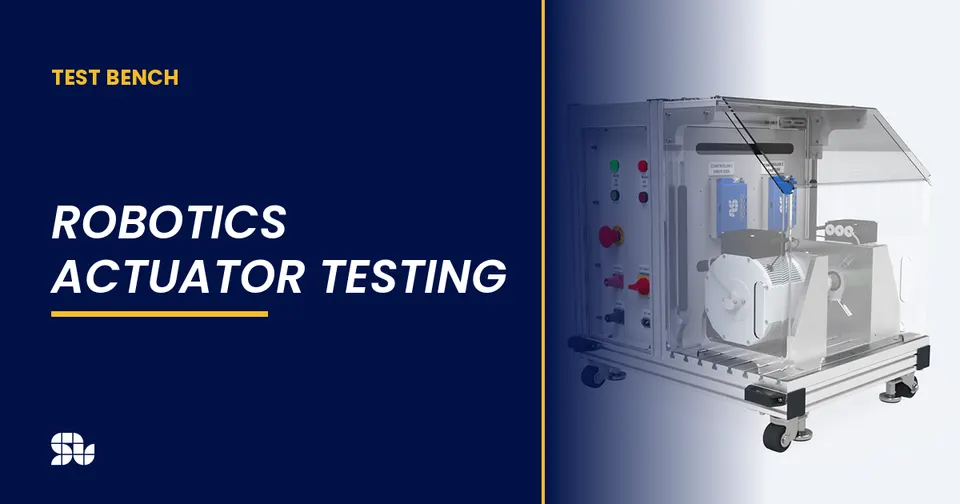
Robotics Actuator Testing: Validating Motors for Robots
How to validate motors and actuators for robots on a test bench: torque density, backlash, repeatability and the metrics that matter for robotics.
