
Test Bench for End-of-Line (EOL) QC in Motor Production
Introduction
A defect that escapes the line and reaches a customer can cost 10 times more to fix than the same defect caught at the end of production. Add the field visit, the return shipping, and the lost trust, and a single bad motor in the field can wipe out the margin on a whole batch. That gap is exactly what an end-of-line motor test closes.
This guide explains how an EOL test bench does quality control in production. We cover pass/fail criteria, cycle time, automation, and traceability, so you know what a station has to do before it ships your motors. The goal is simple: catch the bad unit at the bench, not at the customer.
EOL Testing vs R&D Validation
EOL testing and R&D validation answer two different questions. R&D validation asks “is this design good?” and runs deep, slow characterization on a few prototypes. EOL testing asks “is this unit built right?” and runs a short, fixed check on every part that comes off the line.
The difference shapes the whole bench. R&D validation maps full efficiency, thermal limits, and endurance over hours. An EOL station instead confirms a small set of go/no-go conditions in seconds, then moves to the next unit. It does not re-characterize the motor. It checks that this specific build matches the design that R&D already signed off.
A few practical contrasts:
| Aspect | EOL testing | R&D validation |
|---|---|---|
| Coverage | 100% of units | A few prototypes |
| Cycle | Seconds | Hours to days |
| Output | Pass / fail | Full characterization |
| Goal | Catch build defects | Prove the design |
Takeaway: EOL testing screens production, while R&D validation proves the design. You need both, but the bench for each is built differently.
Defining Pass/Fail Criteria
The core of an EOL station is its pass/fail rule set. Each test measures one parameter, compares it to a limit, and returns a clear result. No interpretation on the line, no judgment call by the operator. The unit passes or it does not.
Here is a typical rule set for a production motor:
| Parameter tested | Method / check | Lower limit | Upper limit | Action on fail |
|---|---|---|---|---|
| No-load current | Spin free, read phase current | 0.4 A | 0.9 A | Reject, bin "bearing/drag" |
| Phase resistance | Milliohm measurement, all phases | 0.18 Ω | 0.24 Ω | Reject, bin "winding" |
| Back-EMF / Ke | Drive at set RPM, read voltage | 11.5 V/kRPM | 12.5 V/kRPM | Reject, bin "magnet/winding" |
| Torque at set point | Load to target, read torque sensor | 1.9 Nm | 2.2 Nm | Reject, bin "performance" |
| Cogging / smoothness | Slow spin, current ripple band | within band | within band | Flag for review |
| Hall / encoder order | Read sensor sequence vs expected | match | match | Reject, bin "sensor" |
| Temperature rise | Short load, delta over ambient | n/a | 15 °C | Reject, bin "thermal" |
The exact parameters depend on the motor, but the pattern holds. Measure, compare, decide, and record the reason on a fail so the line can sort scrap by root cause.
Functional and Performance Checks
Split the checks into two groups. Functional checks confirm the motor is built and wired correctly: phase resistance, hall or encoder order, no shorted turns, correct rotation direction. These catch assembly faults like a swapped phase or a reversed sensor.
Performance checks confirm the motor actually performs: no-load current, back-EMF constant, torque at a set point, and smoothness. These catch problems the functional checks miss, like a weak magnet, a wrong winding count, or a dragging bearing. A good EOL sequence runs the fast functional checks first, so it fails an obviously bad unit early and saves cycle time.
Tolerance Bands and Limits
Limits come from R&D, not from a guess on the line. The validation campaign measures a healthy population of motors and records the normal spread of each parameter. The EOL band sits inside that spread, usually a few standard deviations from the mean, tightened against the design spec and any customer requirement.
Set the band too wide and bad units slip through. Set it too tight and you scrap good motors and raise your false-reject rate. As a rule, start from the R&D distribution, leave margin for sensor accuracy, and adjust the band after the first production runs show real data. Bold rule: the EOL limit protects the customer spec, so it can be tighter than the design spec but never looser.
Takeaway: pass/fail limits are a production discipline. They come from R&D data, they sort scrap by cause, and they get tuned with real line numbers.
Designing for Cycle Time
On a production line, every second per unit multiplies across the whole run. A station that takes 30 seconds instead of 20 on a 100,000-unit year adds nearly 280 hours of line time. So an EOL bench is designed around throughput, not depth.
Three levers cut the time per unit. First, order the tests so the fastest, most common failures run first and a bad unit exits early. Second, run measurements in parallel where the physics allows, like reading resistance and sensor order during the same spin-up. Third, cut the handling time between units, because load and unload often costs more than the measurement itself. A 4-second test behind a 12-second connect-and-clamp step is a 16-second station.
Match the cycle to the line’s takt time. If the line produces one motor every 18 seconds, the EOL test plus handling has to fit inside that window with margin, or the station becomes the bottleneck. Bold point: size the test depth to the takt, then automate the handling to claw back the rest.
Takeaway: on the line, handling time usually beats measurement time, so design the fixture and the test order together.
Automation and Line Integration
An EOL station rarely works alone. It sits in a line, talks to upstream and downstream equipment, and runs with little or no operator input. That means the bench needs both a fast mechanical interface to the part and a clean data interface to the line.
Fixturing and Quick-Connect
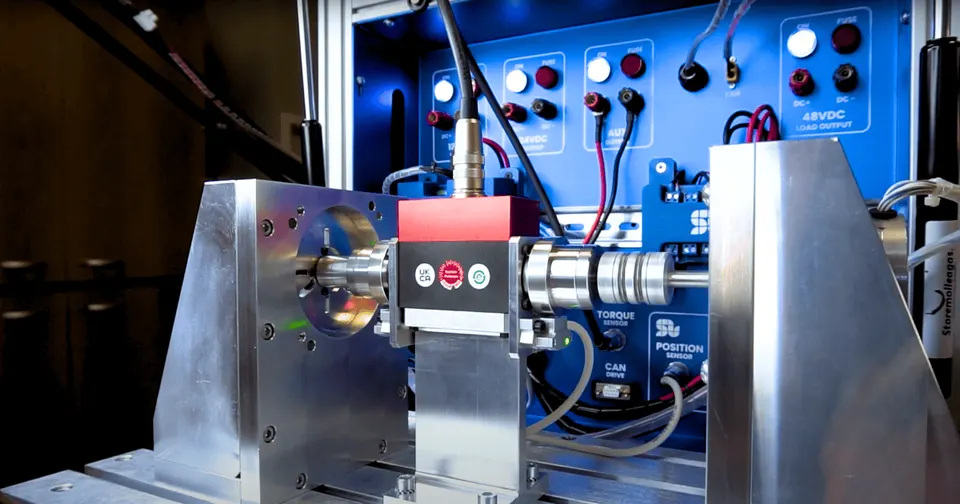
The fixture is where cycle time is won or lost. A good EOL fixture uses quick-connect clamping for the shaft coupling and a single spring-loaded or pogo-pin block for the power and sensor leads. The operator, or a robot, drops the unit in, the fixture clamps and contacts in one motion, and the test starts. No screwing terminals, no hunting for connectors.
Design the fixture so the part can only seat one way, which removes a class of operator errors. Add a presence sensor so the station will not run on an empty or misloaded fixture. The aim is a load step measured in seconds, repeatable across shifts.
PLC/Protocol Integration and Handshake
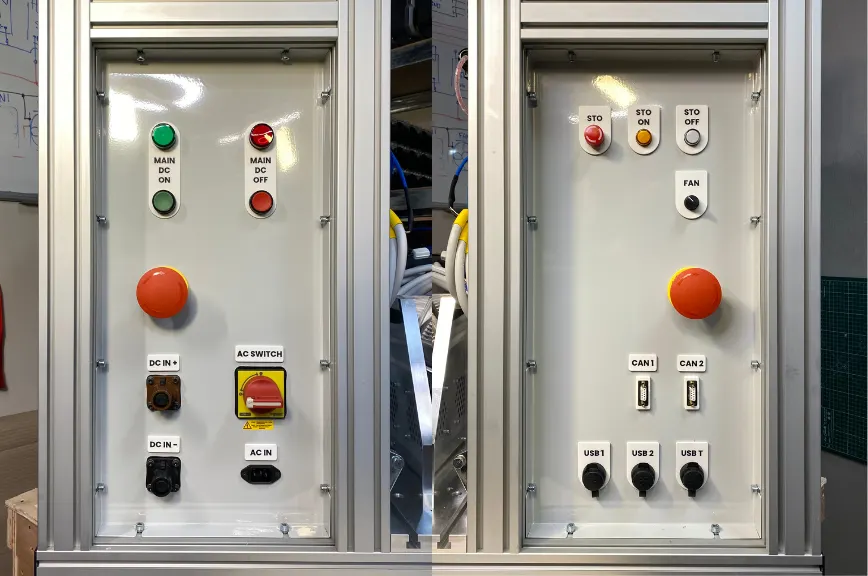
The station exchanges a simple handshake with the line controller. A typical flow: the PLC signals “part ready”, the station runs the sequence, then returns “pass” or “fail” plus the data, and the line routes the unit to the good bin or the reject lane. Industrial protocols like CANopen or EtherCAT let the bench fit straight into that setup and report results without a person watching.
For factories running a manufacturing execution system, the station logs each result to the MES so production tracking and yield reports stay live. Keep the interface deterministic and time-stamped, so a result is never ambiguous about which unit it belongs to.
Takeaway: automation is two interfaces, a fast quick-connect to the part and a clean PLC handshake to the line. Get both right and the station runs itself.
Traceability and Data Logging
In a quality system, a pass/fail result that is not recorded did not happen. Every unit needs a serial number, and every test result needs to attach to that serial. Then, months later, you can pull a unit’s full test record from its serial alone.
A solid EOL log captures the serial, the time-stamp, each measured value with its limits, the pass/fail verdict, and the station and operator or robot ID. Stored together, those fields give you full traceability: yield trends by shift, drift in a parameter over a production run, and an audit trail if a customer reports a problem. For regulated work, like medical device motors, this record is not optional, it is a requirement of the quality file.
Takeaway: log the serial, the values, and the verdict for every unit. Traceability turns a pass/fail station into a quality system you can audit.
Loading and Measurement at the Line
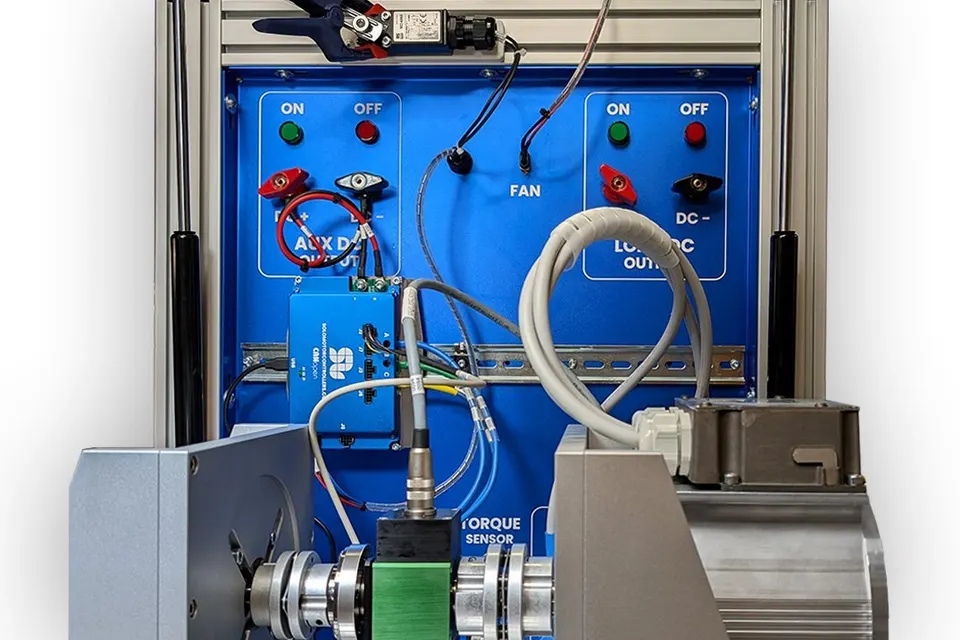
To check torque and performance, the station has to load the motor, then measure how it responds. The load is a dynamometer coupled to the shaft, and the core sensors are a torque sensor, a speed sensor, and current and voltage sensing from the drive, plus a temperature probe for the thermal check.
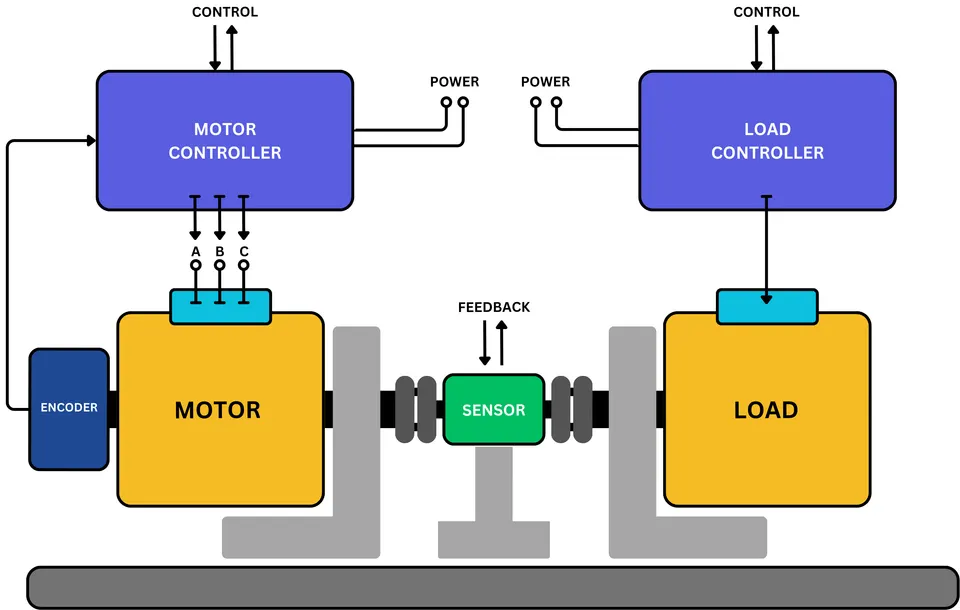
For EOL work, the load does not need the full range of an R&D dyno, because the station checks a few fixed points, not a complete map. A simple brake or a small active dyno is often enough to reach the torque set point and hold it. The choice of dyno type is its own decision, with trade-offs in cost, control, and what tests you can run. The key sensor rule for EOL is the same as any bench: size the torque sensor to your smallest set point, not just the largest, so the reading stays accurate at the point you actually check.
Takeaway: an EOL station needs only enough load to hit its fixed set points, but the sensors still have to be accurate at those points.
How SOLO Builds EOL Test Stations
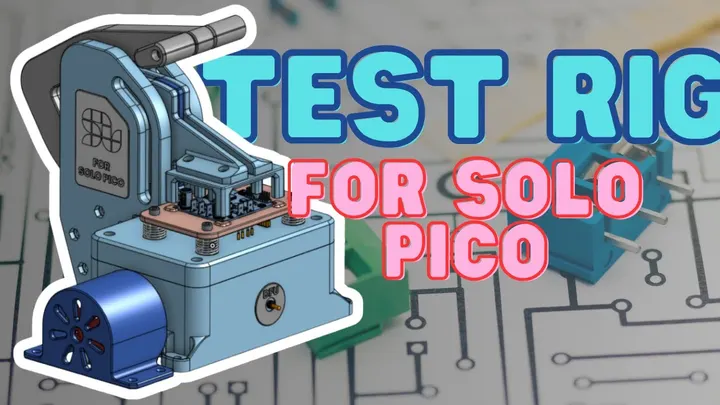
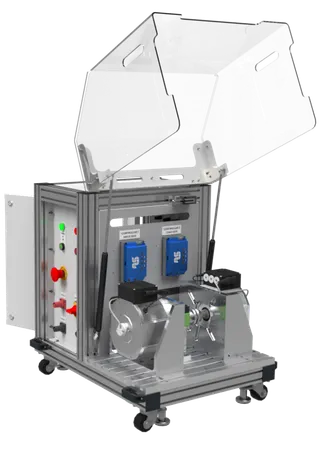
At SOLO we build automated EOL test stations on the same controllers we make, and we customize them to your line at any level, from the fixture and dyno to the protocols and the result log. We have built automated PCB and motor test jigs that run a fixed sequence, return a clear pass/fail, and log every unit by serial, so the station drops into a production flow instead of forcing you to rework it. We support DC, BLDC, PMSM, and AC induction motors, with quick-connect fixturing, torque and temperature sensing, and handshake over CANopen or EtherCAT into your PLC or MES. You can see the base platform on the SOLO motor test bench page and tell us your line’s takt time and pass/fail spec.
Conclusion
An end-of-line motor test catches the build defect at the bench, before it reaches a customer and costs you many times more. The station works from a fixed pass/fail rule set, derived from R&D limits, and it runs the same short check on every unit. Design it around cycle time, automate the load and the PLC handshake, and log every result by serial for full traceability. Unlike R&D validation, it screens production, so depth gives way to speed and repeatability. If you are scoping an EOL station, the SOLO test bench page is a good next step, and our team can review your line’s requirements.
FAQ
What is the difference between EOL testing and R&D validation?
R&D validation proves the design with deep characterization on a few prototypes, over hours or days. EOL testing screens production, running a short pass/fail check on every unit in seconds. R&D sets the limits, EOL enforces them on the line.
How do I set pass/fail limits for end-of-line tests?
Start from the R&D validation data. Measure a healthy population, record the normal spread of each parameter, then set the EOL band inside that spread with margin for sensor accuracy. The band must protect the customer spec, so it can be tighter than the design spec but never looser. Tune it with real numbers after the first production runs.
How fast can an EOL motor test cycle be?
It depends on the checks and the handling. Functional and performance checks can take just a few seconds, but the load and unload step often costs more than the measurement. Match the total cycle, test plus handling, to the line’s takt time so the station does not become the bottleneck.
Can an EOL bench integrate with my PLC and MES?
Yes. An EOL station exchanges a simple handshake with the line controller, runs the sequence, and returns pass/fail plus the data. Industrial protocols like CANopen or EtherCAT let it fit into the line, and it can log each result by serial to your MES for yield tracking and traceability.
Tags:EOLProduction QCTest Bench
Products in this article
Related articles
Efficiency Mapping a Motor: Method and What It Reveals
How to build a motor efficiency map on a test bench: the measurement method, the torque-speed grid, and what the map reveals about a motor.
E-Bike Motor and Controller Validation Bench
How to validate an e-bike motor and controller on a bench: torque and cadence, assist profiles, regen and the metrics that matter for e-bikes.
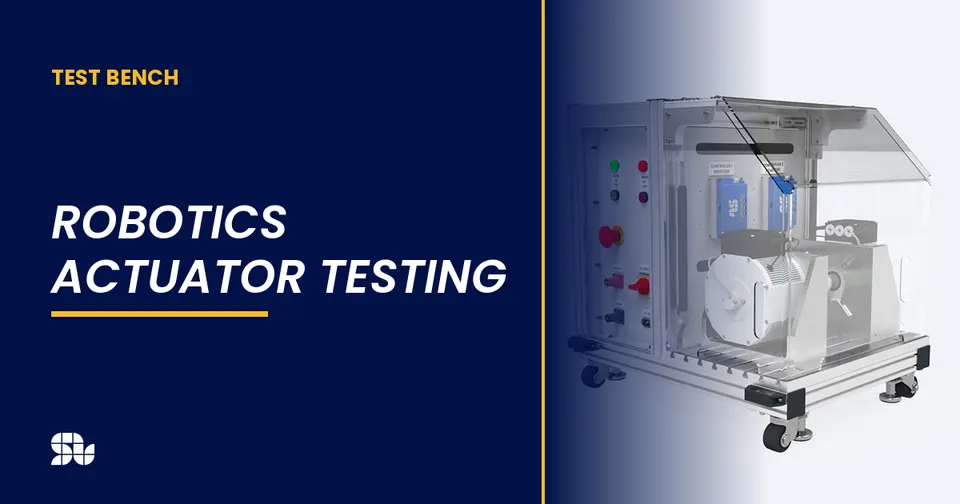
Robotics Actuator Testing: Validating Motors for Robots
How to validate motors and actuators for robots on a test bench: torque density, backlash, repeatability and the metrics that matter for robotics.
